Delegate Tracker - Installation Guide
Delegate Tracker is usually deployed using Microsoft's Click Once technology which allows Navitas Solutions to publish new versions to our central server and have all users automatically updated with the latest features and functionality with minimal overhead.
The following outline the process required to download and prepare the workstation to run the application.
There are additional instructions provided for customers who utilise a Citrix/Terminal Services type environment.
Pre-Requisites for install
.net Framework
Delegate Tracker has been developed against version 4.8 of Microsoft's .net framework, so this must be available on the workstation before the application will launch. If the workstation does not have this installed it can be downloaded directly from Microsoft's website.
Web Services Access
All Navitas Solutions products communicate with a series of web services to access data tables for the purpose of decoding GDS codes and to provide licence control. If your agency has a proxy installed or a firewall that limits internet communication then please see our FAQ page on https://navitas.zendesk.com/hc/en-us/articles/17115289351441-Navitas-Web-Services-Web-API-Infrastructure for information on the web addresses and ports that need to be configured as either "bypass" or "allow" on your network.
Travelport (Galileo / Apollo) Users Only
The application utilises the latest version of the Desktop XML API which often requires the workstation to be upgraded. Navitas Solutions makes a 'Pre-Requisites' installer available on our website to ensure the workstation has the latest files, please follow the steps as per our help page https://navitas.zendesk.com/hc/en-us/articles/200592779.
Amadeus Users Only
The Navitas Hub is required for all Amadeus users, it facilitates communication between Amadeus Selling Platform and our tools. This needs to be configured by Amadeus as a SmartTool against all Office IDs using our tools, and installed for all users. Install guides as follows:
Click Once - https://navitas.zendesk.com/hc/en-us/articles/33538173807505-Navitas-Hub-Installation-Guide
Terminal Services / Citrix - https://navitas.zendesk.com/hc/en-us/articles/33847505470481-Navitas-Hub-Installation-for-Terminal-Services-RDS-Citrix-Users
Sabre Users Only
The Navitas Sabre Connector is required for all Sabre users, it facilitates communication between our tools and Sabre Agency Workspace Desktop. This needs to be ordered for all Sabre PCCs and specific EPRs using our tools via Sabre Marketplace. https://central.sabre.com/marketplace/samProductDetails?sku=jJVR-hilSk6NOe9iegL2-Q
Installation Guide - Click Once Deployment
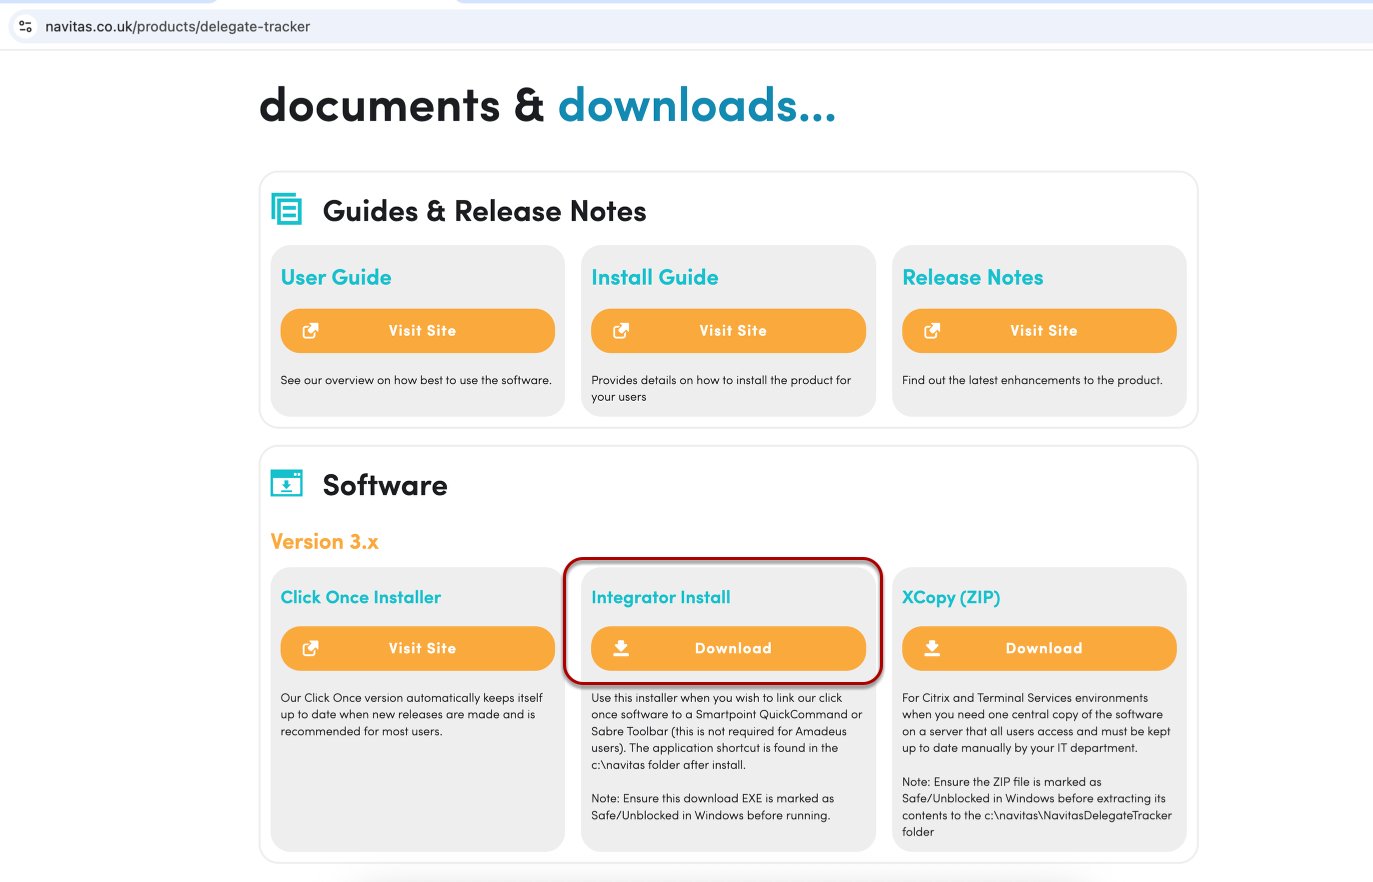
The Delegate Tracker installation must be performed on each workstation that requires access to the system
Go to https://www.navitas.co.uk/products/delegate-tracker#downloads. Click the relevant installation for your company set up. This is usually the Integrator Install link.
NOTE: For Travelport GDS users please ensure you have closed Galileo Desktop / Smartpoint before running the installation.
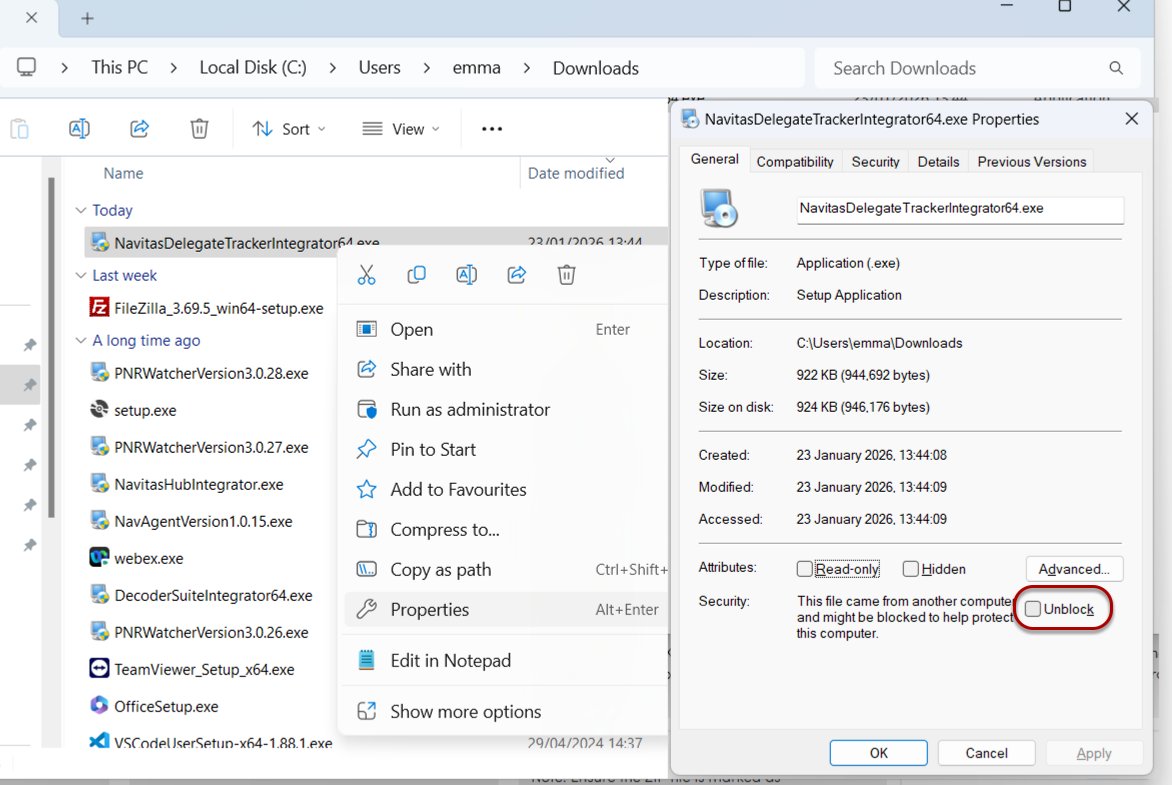
You must mark the download ZIP file as safe BEFORE extracting the contents, so right click on the ZIP file and select PROPERTIES from the menu.
Select the 'Unblock' check box below the advance button, and click Apply.
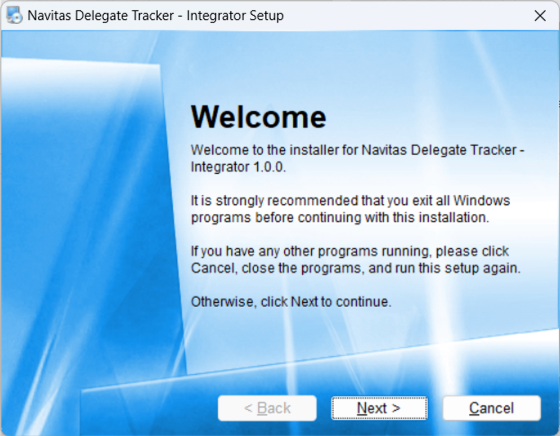
The installer will launch and open the Welcome page. Click Next to continue.
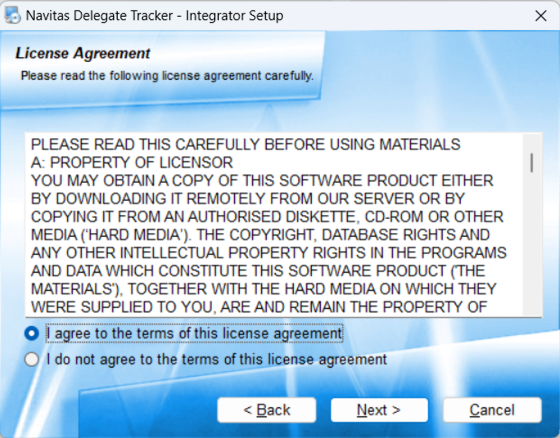
The installer displays the License Agreement that must be agreed to in order to continue with the install.
Select "I agree to the terms of the license agreement" and click "Next" to continue.
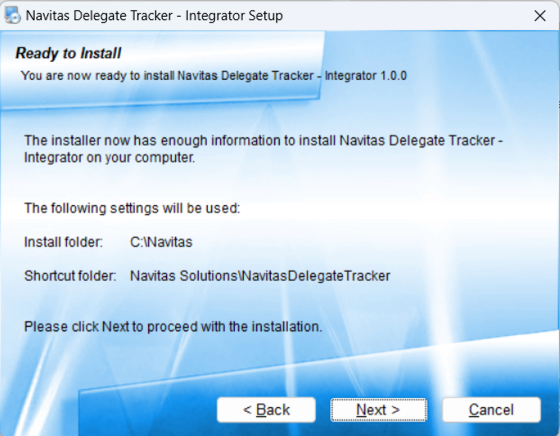
The Installer is now ready to perform the installation, click "Next" to continue.
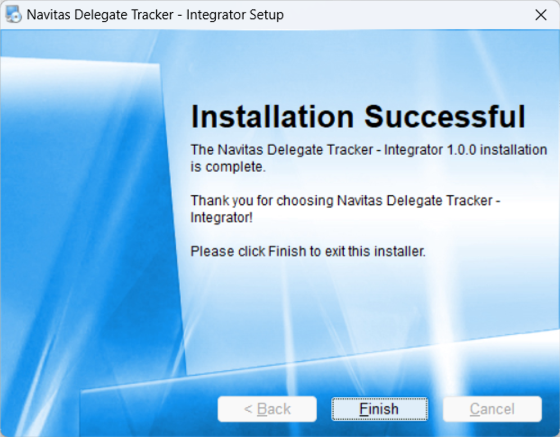
Once complete, the Installation Successful screen is displayed.
Click "Finish" to exit the installer.
NOTE: On some Windows configurations, the Program Compatibility Assistant may display a message to say the program might not have installed correclty - this is in error, simply click "This program installed correctly" to close the installer.
NOTE: The tool can be run from the C: Navitas folder, or the Start Menu - please see the below information on how to configure short cuts for each GDS environment.
If your agency only needs to run the solution from the Start Menu (for example during testing), then after the above instllation has finished, navigate to the c:\navitas directory and double click the 'NavitasDelegateTracker.appref-ms' application file to download and install the application directly.
Installation Guide - Citrix / Terminal Services environments
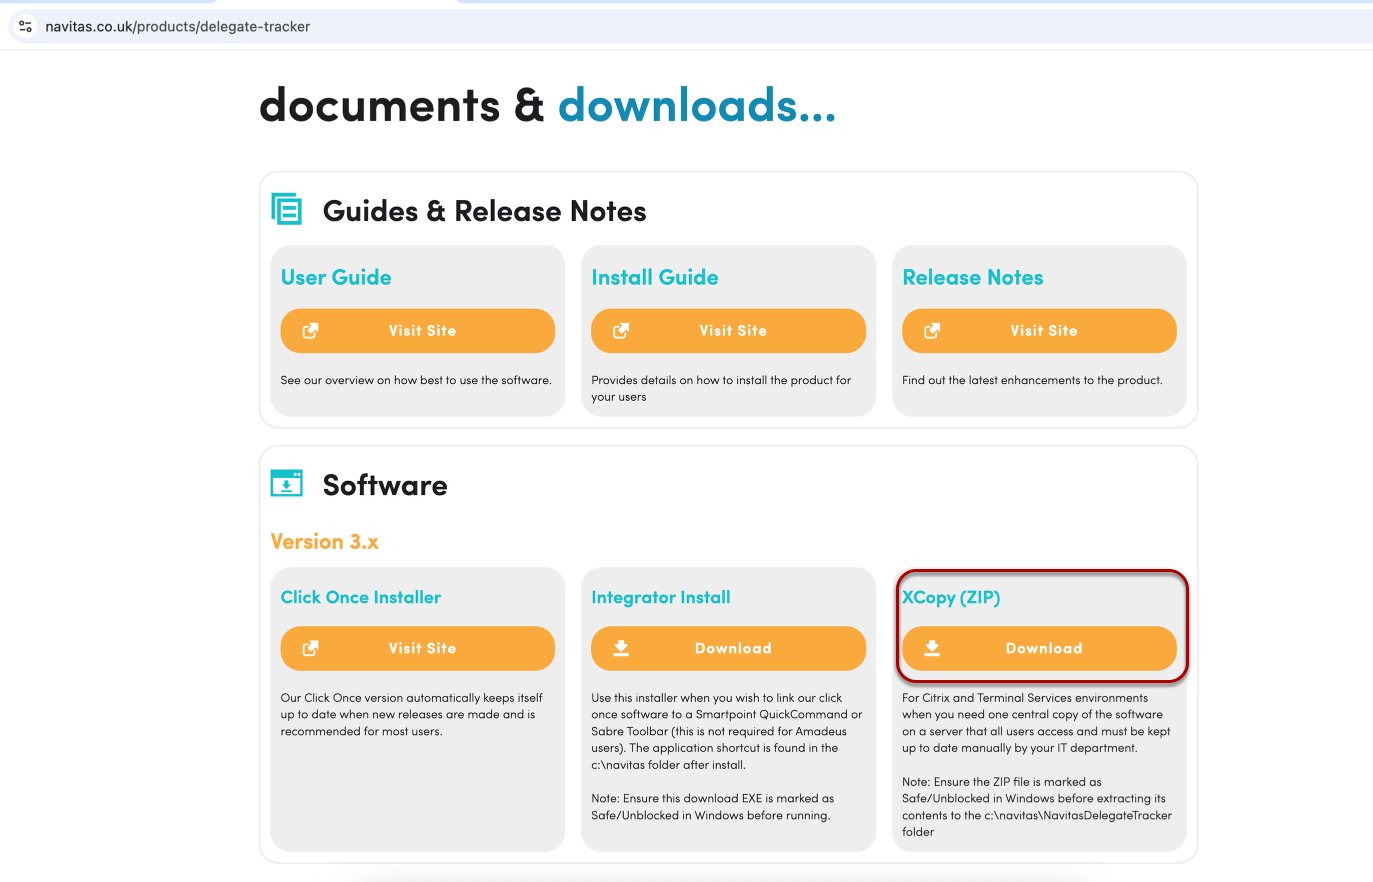
Using Internet Explorer, navitgate to https://www.navitas.co.uk/products/delegate-tracker#downloads
Scroll down to the DOWNLOADS tab and select the 'XCopy' link to download the ZIP file.
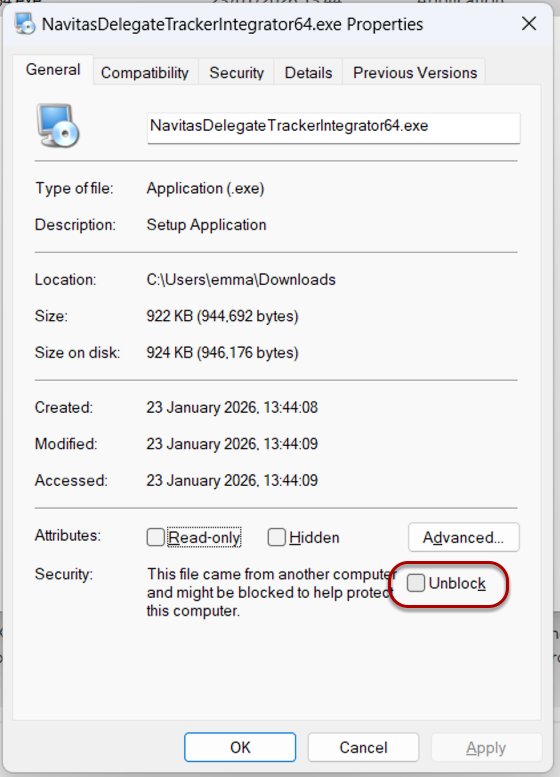
You must mark the download ZIP file as safe BEFORE extracting the contents, so right click on the ZIP file and select PROPERTIES from the menu.
Select the 'Unblock' check box below the advance button, and click Apply.
Expand the contents of the ZIP file into the recommended c:\navitas\NavitasDelegateTracker directory on your server(s).
NOTE: You can choose a different directory if required, but is must be physically on the server where .net 4.8 is installed
Configuring the Start Menu
Once copied, configure the Start Menu with a shortcut to the C:\navitas\NavitasDelegateTracker\NavitasDelegateTracker.exe file. If the solution is being tested by a select group of users, then please only make the shortcut available to the individual users. Please see the relevant Appendix to also configure the GDS Toolbar button required to launch the application.
Initiating a ‘First Run’
Due to further limitations with Citrix environments, and as the solution makes use of .net and WPF technologies, the application must be run at least once, by an administrator, on the server. To do this, launch and sign in to the GDS to be used. Double click the C:\navitas\NavitasDelegateTracker\NavitasDelegateTracker.exe file so that it is compiled and launches. Once the interface has appeared on screen it can be closed.
Adding an Agency Application - Sabre users
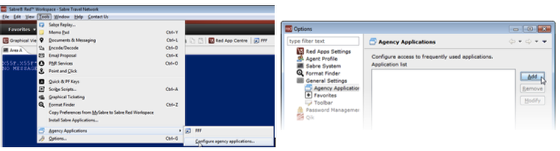
To add a toolbar to Sabre Red for launching Delegate Tracker, follow the steps below:
Select Tools > Agency Applications > Configure Agency Applications
On the Options screen, click the "Add" button
Configure the Name and Path of the file using the following:
Name: Delegate Tracker
Path: c:\navitas\NavitasDelegateTracker
Creating a Smartpoint Quick Command
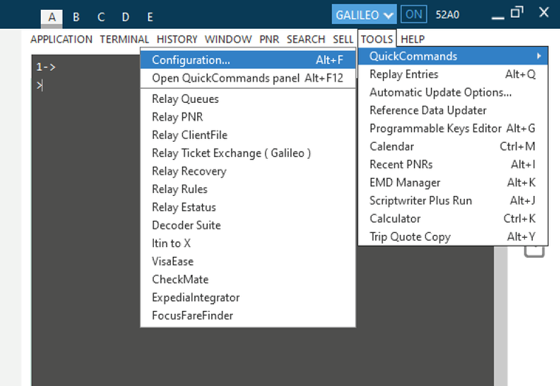
For full details click here https://navitas.zendesk.com/hc/en-us/articles/360022985731-How-do-I-create-a-Smartpoint-Quick-Command-
Using the Windows Taskbar to launch our tools
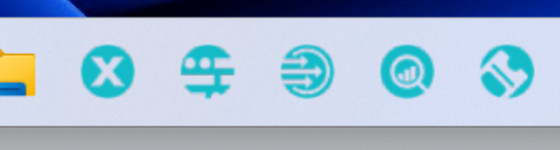
Many of our customers have the Navitas Solutions tools 'pinned' to their Windows Taskbar. Its important to pin the icons following the steps documented in the following help page (step 2):
https://navitas.zendesk.com/hc/en-us/articles/4411084034961-Editing-the-Windows-Taskbar-to-launch-latest-tools