Installation
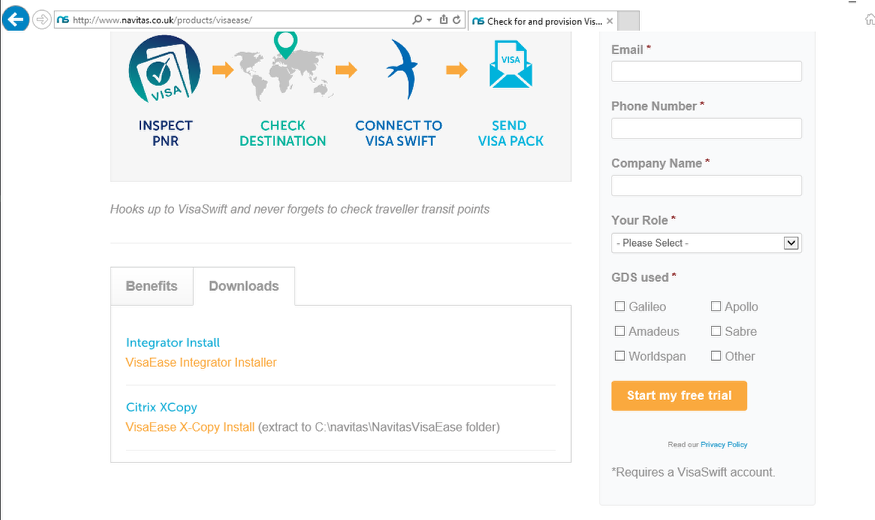
The Visa Ease installation must be performed on each workstation that requires access to the tool.
1. Go to http://www.navitas.co.uk/products/visaease/. Click the Integrator Install link.
Important note: Galileo Desktop / Smartpoint users, please ensure Galileo Desktop / Smartpoint is closed before running the installation file.

You might get a security warning, click Run if prompted
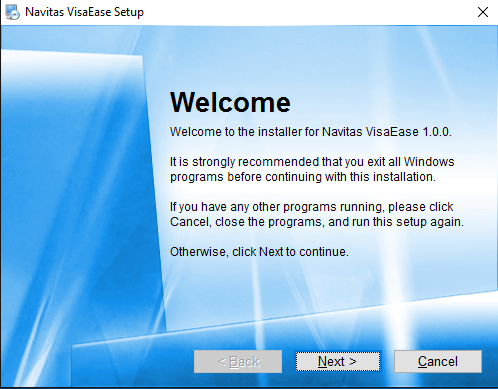
Click Next
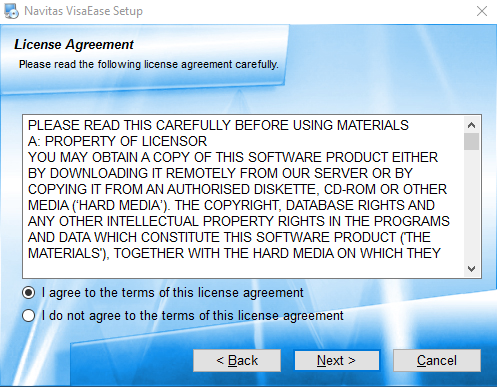
Tick radio button to agree to the terms of the licence agreement. Click Next.
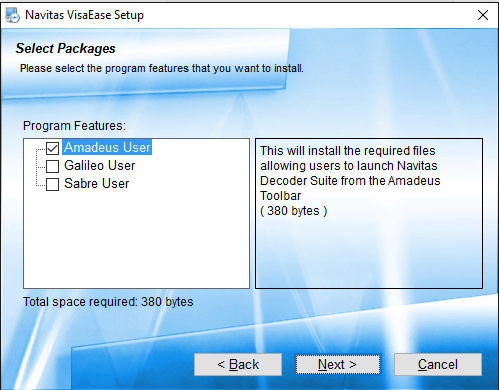
Tick the appropriate box to select if you are an Amadeus, Sabre or Galileo user - tick all appropriate boxes
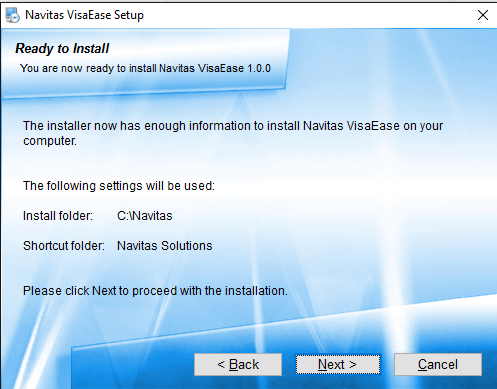
Navitas VisaEase will be automatically installed under C:\Navitas. Click Next.
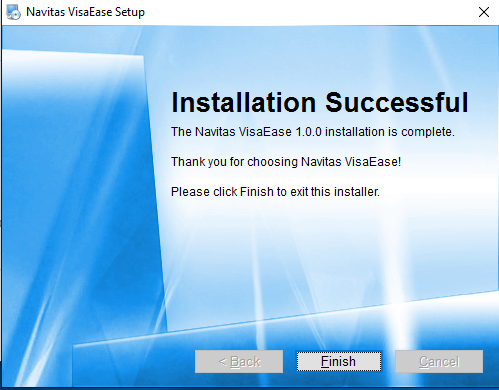
The installation will then complete and you will receive a success prompt. Click Finish to exit the installation process.
Adding a Toolbar Button - Amadeus users
A request needs to be sent through to your Amadeus Account Manager to request a button be added on to the Selling Platform to launch the application.
Adding a Toolbar Button - Sabre users
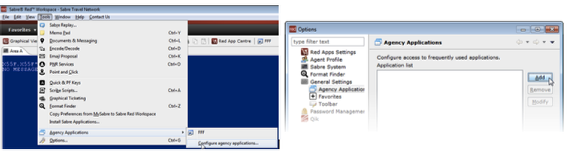
To add a toolbar to Sabre Red for launching the Expedia Integrator, follow the steps below:
Select Tools > Agency Applications > Configure Agency Applications
On the Options screen, click the 'Add' button
Configure the Name and Path of the file using the following:
Name: VisaEase
Path: c:\navitas\Navitas VisaEase.appref-ms
Travelport Users
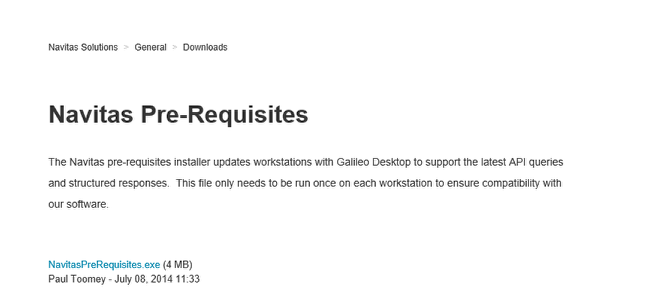
Travelport users: if this is your first installation of Navitas tools, or you are installing on a new workstation then you will also need to install our "Pre Requisites" files.
Go to https://navitas.zendesk.com/hc/en-us/articles/200592779 and run the installation file.